Shop Duck Duck Wool

Where was that?
Updates

Enter your email address:

Delivered by FeedBurner

Look around
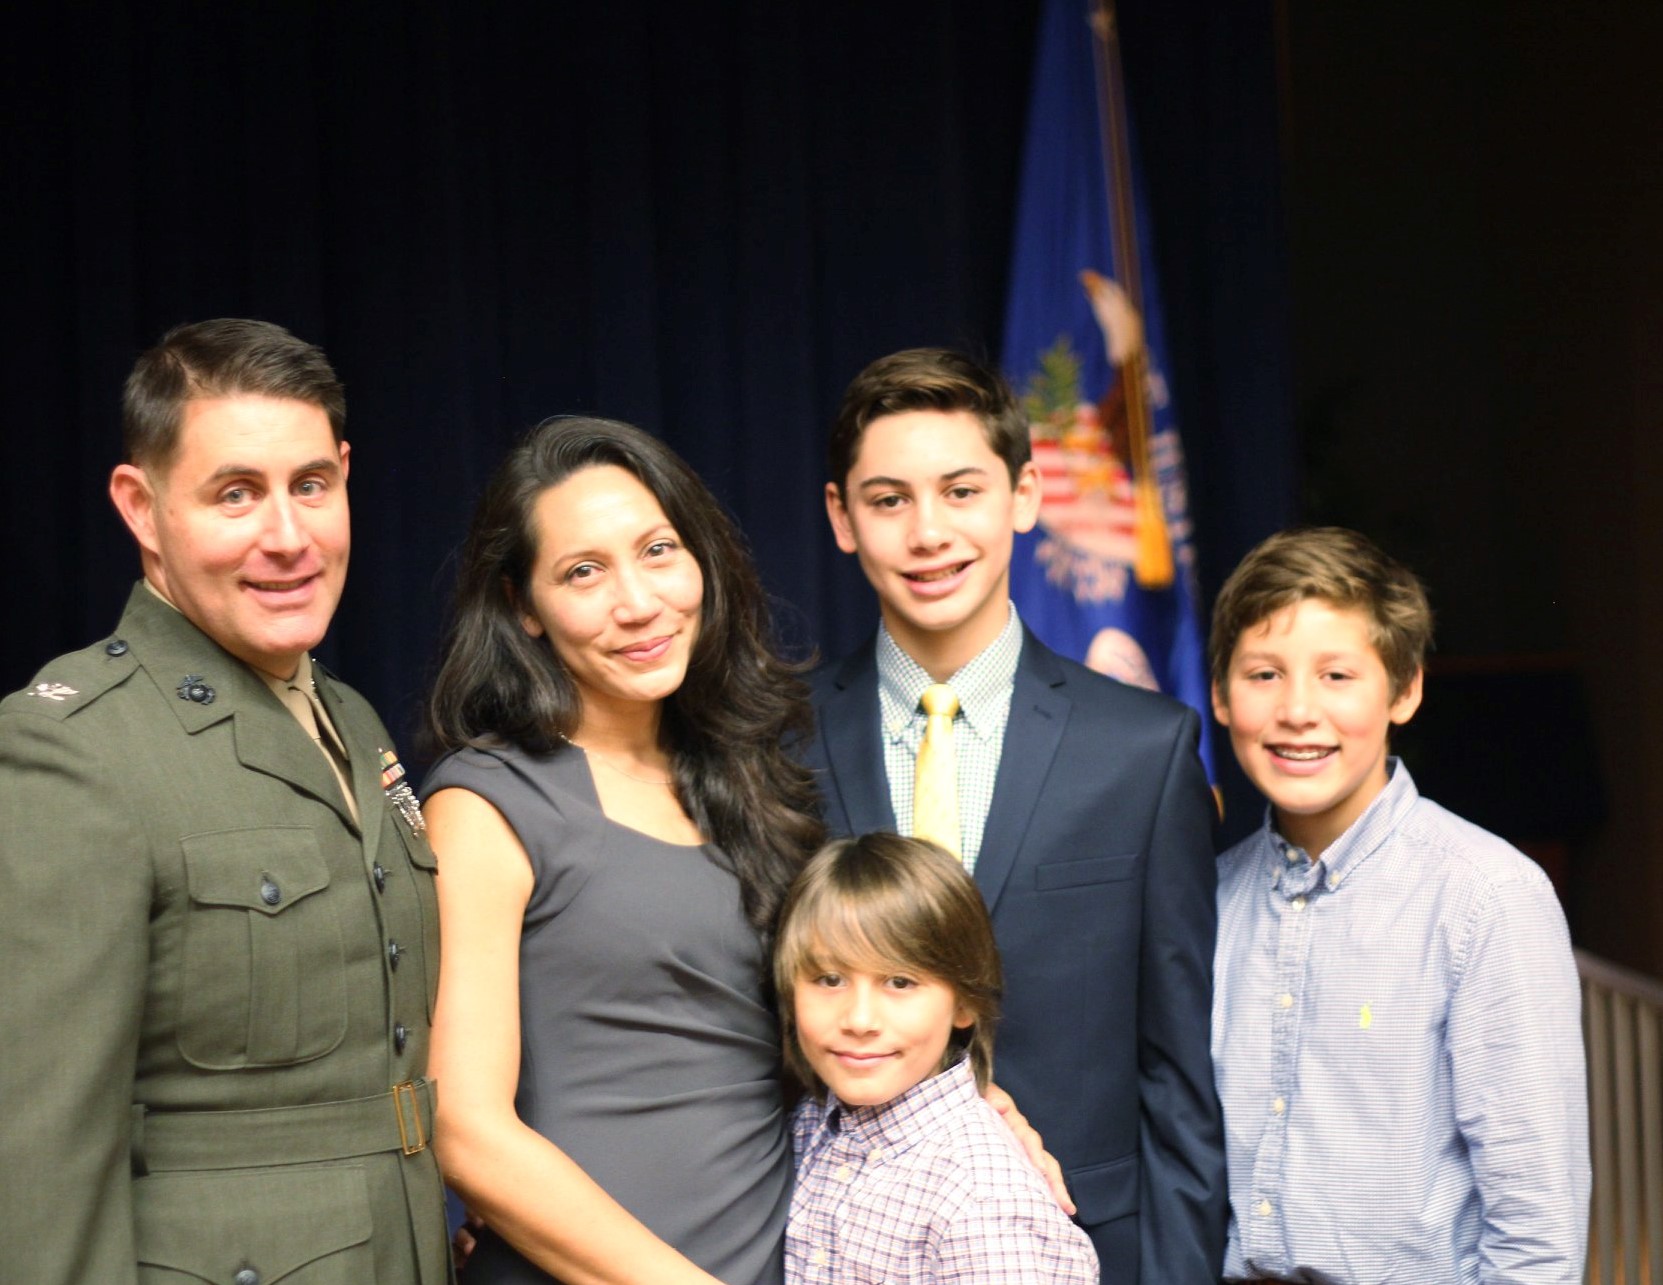
Pumpkins One, Two, and Three (and Me)

when I started the blog...

and a few years in...

and now...

3pumpkinslittle on Instagram 

  
Wednesday
Jun162010

Little scrap coasters.

I've been cutting 4" squares of scrap fabric and using them to sandwich terry fabric that I salvaged from a baby blanket William never favored.  They are fairly addictive to stitch together into coasters.  I think they make lovely hostess gifts to keep on hand--our summer calendar is filling up nicely with bbq invites and party plans.

I made a little stack to send to someone as a very belated present.  Hope she likes them!


ETA:  I received a couple of emails asking for a quick tutorial.  And I was going to, but then I checked out the blog of one of the commenters and discovered she's already done so!  And she's much smarter than I am because she cuts the interior batting a bit smaller...my edges can be a bit bulky so I will be using her method from now on.  I wish I had seen her post before I cut out all my squares!  Go to Motherlode and check it out.


Linking up here


Wednesday
Jun162010

Just for fun.

Max is enjoying a fun last week of first grade.  Tomorrow is a school picnic and a little play.  Today was wacky tacky day (I'll snap a shot when he gets home).

Yesterday was crazy hair day.  There used to be a time when I "did" my hair every day (a given considering I grew up in Texas in the 80s).  But with my current lifestyle, I'm lucky to get it into a ponytail.  There's just not a lot of styling products in our house.

But I did find some hairspray.

Tuesday
Jun152010

Birthday flapjacks.

Just the other day it occurred to me that I started this blog a year ago.  A year ago today, in fact.  Grand plans for a special post would have been nice.  But really, what I generally do to celebrate is bake something special.  So today we had flapjacks.

Have you ever had flapjacks?  And I'm not talking about pancakes called flapjacks.  I'm talking about British Flapjacks.  A British co-worker introduced me to them forever ago and I instantly fell in love with the buttery, carmeley treat.  I hadn't thought about them in years.  But when I saw a recipe in my March Bon Appetit magazine (the article is a fun read as well), I knew I'd have to give it a go.  And today I made them--my kind of celebration, for sure.

The ingredients couldn't be simpler (but one ingredient might require a bit of a search):  unsalted butter, brown sugar, quick cooking oats (I used old-fashioned as that's all I had on hand), a pinch of salt, and golden syrup.  I found the golden syrup at Wegmans but not at my other area supermarkets.

You melt the butter, syrup, and brown sugar until everything is nice and gooey--a heavy bottom pot comes in handy to avoid overheating.  Next, you add the oats and salt, press into a pan, and bake untiil everything is nice and crusty.  Waiting for the flapjacks to cool is the hardest part...the aroma it gives off while baking is amazing.

Actually, I didn't exactly wait for them to cool and set up before I dug in.  And I'm okay with that.


A few notes:  the boys looooooved these.  Not a huge surprise, really, as they love oatmeal baked goods with a passion.  I envision lots of concoctions with their favorite add-ins--coconut, nuts, dried fruit, anything along those lines would work very well. 

Even after our flapjacks cooled completely, they were pretty crumbly.  I have a feeling it has to do with using old-fashioned oats instead of the quick-cooking variety--next time I'll stick to the recipe and compare.

Now, back to the year-old blog...I am very happy I started this little project a year ago and am determined to keep it up.  But I do have some thoughts and plans that I will share soon...nothing major, just some goals to help me get more done.  Here is my original post--the year went by awfully fast if you ask me.

xoxo, Sandra 

(flapjacks recipe after the jump)

Click to read more ...

Sunday
Jun132010

Catch up.

I know I need not tell anyone else who has a children-centric schedule how there are some weeks that whiz by impossibly fast.  The kind that during the week, you do not know if you're coming or going and there are just too many things written down on the calendar.  In pen.  And yet, when you finally sit down at the end of it all, you cannot--for the life of you--piece together the blurry bits to figure out what, exactly, you did.  Of course, what you did not do (ahem, laundry...blog posts...weed the garden) is plainly obvious.

And so, since I am playing catch up all over the place anyway, here is something I meant to post.  It is a dresser I recently refinished.  It used to be my brother's--the ubiquitous shelf/dresser combo that every boy had growing up.  It matched his bunk beds.  And I'm pretty sure it was standard issue during the late 70's...boys got these sets and girls got the frilly canopy set (mine was painted cream and yellow, I think, with touches of gold).

When my parents moved last summer, I saw the dresser sitting in their garage and I asked if I could have it.  They were more than happy to oblige--my brother did some serious damage to it! 

My original plan was to paint it a fun color for William's "big boy" room.  But as we were sprucing up the living room for my brother's party, I thought it would make a nice beverage center.

I don't have a real before picture (specifically, I failed to capture the dated brassy hardware and scallop trim--Charlie just hacked away anything too "country").  But here are some shots I took during the sanding and wood-filler process, which was fairly painless (despite my brother's heavy hand at carving his favorite band's name all over the wood.  Really, John?  Really??).

And here it is after three coats of Rust Oleum Ultra Cover in Navajo White, plus new hardware.  It took three (!) cans of spray paint--thank goodness I picked up a reusable "spraygrip" attachment for the cans.  I also used a couple coats of hi-gloss wipe-on poly.   

I removed the middle shelf to make it look more like a hutch.  And I may eventually paint the back a different color.  But for now, I just propped up a print we like and stocked it with everything we need for impromptu entertaining.  I just love how it turned out. 

cheers, Sandra

*I'm linking up over at...

Wednesday
Jun022010

A bread that's quick (but not a quick bread).

I put it that way because this is a "real" bread...most quick breads are like a big muffin.  Delicious, to be sure, but often dense or heavy, with very little crust, if any.  And they usually stand alone--I think of them for snacks or breakfast.  But not often for dinner.  Besides, I usually have bread dough at the ready using one of the recipes from the Artisan Bread in 5 Minutes a Day cookbook (I talk about it here). 

But the other day I was out of dough and so I searched for a quickie bread recipe.  I held out hope that I'd find something to produce a loaf to go alongside our dinner.  In an hour

I stumbled upon Gourmet Mom on-the-Go's recipe for a quick french bread and had to try it.  I'm so glad I did!  It produced three loaves and yes, one was ready for our dinner table that very night.  The second was just fine the next night after I warmed it, wrapped in foil, in a low oven.  And the third made delicious cheese bread on the third night, topped with garlic butter and parmesan and broiled--though I suppose anything is good topped with garlic butter and parmesan and broiled.  But this was especially good.

The next time I made the recipe, it was part of teacher appreciation gifts at the boys' preschool.  And then I made it again, baking one loaf, and sticking the other two into the freezer to bake later.  I will report back on that.

Here is the link.  But I'm also posting the recipe because I hope to someday print my blog and it would be nice to have.

No Fail Quick French Bread

from Gourmet Mom on-the-Go

Ingredients:
1 T shortening
1 T salt
2 T sugar
1 C boiling water
1 C cold water
1/3 C lukewarm water
1 T yeast (cut your yeast in half if you are at a high altitude) (*I didn't measure--just used one packet)
4 1/2 C - 6 C flour
1 egg

Directions:

  1. Place the 1 C hot water in the microwave for 3 minutes to bring to a boil.
  2. Dissolve the yeast into the 1/3 C lukewarm water; stir until mixed.
  3. Combine the salt, shortening, and sugar in the bottom of your mixer (use a fork--my dough hook doesn't reach low enough).
  4. Pour the boiling water over the shortening mixture.
  5. Pour the cold water over the mixture.
  6. Pour the lukewarm water and yeast combo into the mixer.
  7. Begin to add the flour, one cup at a time, until the dough pulls away from the side of your mixer. 
  8. Let the dough mix on high for 8 minutes (*my dough hook says not to use above speed 2, which is what I did).
  9. Let the dough rise in the mixer for about 20 minutes. (this step can supposedly be skipped if you are in a hurry)
  10. Separate the dough into three parts and place on a large jelly roll pan sprayed with cooking spray.
  11. Let the dough sit for about 5 minutes. Letting it sit will make it much easier to shape.
  12. Spread the dough out into a rectangle, then roll into a long log.  (*I used my fingers to pat it out, no rolling pin)
  13. Bring the ends over and layer them on top of each other.
  14. Turn the loaf so the seam side is down. Repeat these steps with the other 2 parts of dough.
  15. Spray a sharp knife with cooking spray.
  16. Make your egg wash by whisking the egg until frothy.
  17. Cut three diagonal slits in the top of each loaf. Completely cover with the egg wash.
  18. Place the loaves in a warm 170 degree oven and let rise for about 15 minutes.
  19. Turn the oven up to 375 degrees for a convection oven, and 400 degrees for a regular oven. Leave the loaves in while the oven increases in temperature.
  20. Bake for 10 minutes convection or 15 regular oven, or until the loaves are golden brown and crusty.
  21. Turn the oven down to 325 for convection, 350 for regular and turn the pan around in the oven. Bake for another 7 minutes convection or 10 minutes for regular.

Enjoy!
Sandra
Tuesday
Jun012010

Memorial Day, 2010.

Here's hoping you enjoyed a nice holiday weekend--we certainly did.

One of the most entertaining and memorable events was a water fight.  Our next-door neighbors host a cookout each year over Memorial Day weekend.  And last year, their son and our two oldest got into a rather prolonged water fight.  There has been much talk of a rematch.

Even little William was called into action--after one or two lessons on the proper way to grip a water gun.  Such a natural...  

Good neighbor friends were drafted to join our side...

and Charlie was recruited to keep the armory stocked and offer strategic tips...

What's that?  Elaborate you say?  All this for a child's game?

Oh, right. 

I should mention, then, that the opponents were twenty-something-year-olds...


Sneaky twenty-something-year-olds.  With impressive and relentless aim...

The battle lasted a couple of hours, easy.  And oh goodness, did our boys ever sleep well that night.  We're pretty certain we know of what they dreamt...next Memorial Day cannot come soon enough.

Hooray for summer!  And double hooray for full-grown children who get wet and messy, happily entertaining the kidlets.  And who wisely know not to douse the dressed up mommy trying to document it all from the front lines (though I don't suppose I would have minded...)

xoxo, Sandra

Monday
May242010

Easy top to skirt refashion.

A few weeks ago, I ordered this top from Tulle.  It was during one of their Tullesday events, so I think the top cost $2.99 or something.  I am not kidding when I say that 50% of my wardrobe comes from Tullesday sales.  Impeccably crafted lined coats that normally sell for $80...but on sale for $5.99?  Yes, please!  I especially love their little cropped jackets--I pop one of those over whatever wreck of an outfit I'm wearing and poof!, I can trick most anyone into thinking I am pulled together. 

I had a feeling this top would be a bit clownish on me and I was right.  But I've wanted a modish, circle-neck tunic pattern for a bit, so I figured at the very least, I could draft a sewing pattern off of it.  And I actually like the print of the knit.  Just not as a top. 

I used my trusty seam ripper to unpick the neckline and then cut across the remaining tunic piece to even it up into a rectangle.  I folded over the raw edge to make a casing for some elastic and I was done.  I think it makes a fun, summery skirt.  I pretty much live in skirts during the hot weather months, so I know I will wear it.  Next up is to reuse the neckline with a more subdued knit for the tunic.  I'm loving gray + yellow right now so am keeping my eyes open for something inspiring.

not sure what happened to my settings on this photo...sorry it's so grainy

cheers, Sandra

p.s.  linking up to DIY day at A Soft Place to Land.

p. p. s.  Tullesday happens the first Tuesday of every month.  Some months there are plenty of scores, some months, nothing.  But it's absolutely my favorite place to stalk for a bargain (assuming you like mixing in Anthropologie/vintage-y pieces.  I happen to really love that look).

Sunday
May232010

Peonies.

Nothing much here.  Just checking in during a quiet weekend--exactly what the doctor ordered.  I finally got around to staking our peonies in the garden.  I cut a few blooms to enjoy indoors as well.  They are my favorite flowers, I think.  Hope you are enjoying a lovely weekend, too.

xoxo, Sandra


Friday
May212010

Hello yellow.

As I mentioned, the week or so leading up to my brother's surprise 40th birthday was, as I like to call it, full.  Charlie has another name for it--he calls my pre-party crunch mode 'FLAIL EX'.  I have no idea if that's how he would write it but it's a military thing to put 'EX' behind something, standing for exercise.  I am getting the feeling that this is not translating well, but believe me, it's funny when a Marine says it (unless, of course, it's said during FLAIL EX).

So back to the crazy week before the party.  I decided we needed--and I do mean needed--a nice sized table to set up an appetizer station.  I was determined to make people mingle, after all, most would not have their children hugging their legs like a koala pencil-pal.

Hello 5th grade--remember these? Image from Giggle Time Toys.

(We interrupt this post with an important aside:  I have always wanted to dress up for Halloween as a pencil, with our toddler dressed as a koala hugging me.  I have yet to actually do it.  Could someone else, please?) 

Since a new table was not in the budget, I went scrounging in the garage and happily unearthed an old patio table bought in my apartment days.  For the last few years it has served mostly as a surface for DIY projects.  And it had the paint splotches, burn marks, and gouges from the hacksaw to prove it--not pretty.  But after some elbow grease and a couple coats of Rust Oleum Ultra Cover Gloss Sun Yellow, it was more than presentable.

I have no pictures of the staged room to share; isn't that sad?  But here's one with some half empty trays of appetizers (the biggest hit were the gorgonzola stuffed apricots wrapped in bacon--yum).

Once I introduced the yellow (which I picked because I have lots of pretty bowls, service ware, and linens in yellow), I decided that the rest of the room needed a dose of it, too.  So I whipped up some pillows.  And I should probably mention that my 'must have yellow' moment came to me the night before the party.  If you have ever witnessed FLAIL EX, you saw that coming.

The trick to pillows, generally, is to make them the same size as your form, otherwise you get a slouchy pillow.  But the trick, specifically, to churning out five pillows in less than an hour and a half is to be flexible.  The bow tied around the round pillow happened because my free-form circle was anything but round and I went with the ruched pillow because I was too lazy to get up from my sewing table and remeasure the rectangle form.  I of course now pretend that both of these details were by design.  Also, decide whether you want matchy-matchy or coordinated but asymmetrical.  Since I have three boys who think throw pillows are named as such for a reason, I went with the asymmetrical look.

William obviously approved of the yellow. 

Happy Friday!

xoxo, Sandra


Thursday
May202010

Half marathon, check.


I love how the above photo has 'proof' plastered across it.  Yes, it's a photo proof I screen-captured (and then pixelated our race number) from the online gallery of the race.  But I smile because it says exactly what I think as I look at it--proof that I did the Marine Corps Historic Half marathon last Sunday.

I got to run with Charlie and my friends Hallie (that would be Halliefest-scone Hallie, btw) and Stephanie.  They were rockstars!  And my goodness did they keep me moving.  On my long training runs, I always took a bit of a walk break when I hydrated--something along the lines of a minute or so every four miles.  But I don't think I walked more than 10 seconds over the entire 13.1 miles of the race.  

When I started training 10 weeks ago (remember, I could not run over a mile without walking), I thought to myself that beating 2 hours and 30 minutes was a lofty goal.  So I am pleased as punch to report that I came in at 2 hours 6 minutes and 58 seconds.

So does it make me a runner?  Well, all I can say is that three days post race, with a right calf still too tight to run, I was online researching Fall races.  I think they put something in that race water.

xoxo, Sandra