


DIY Holiday wreath.
We've been laying low these last few days. Thanksgiving was wonderful--my parents did a great job. After the big meal, the day mostly consisted of more eating and lots of cuddles.

I think it was Will's first experience of an uncomfortably full tummy.

We had an unusual spell of warm weather last weekend. And so we tried to make the most of it by spending as much time outdoors as possible. This means I did not get the house decorated for Christmas yet--so now I feel like I'm already behind. But the calendar says it's just Dec 1st so I guess I'm okay. But I'm still fretting. We have our gingerbread decorating party in less than two weeks!
I did manage to do a little decorating though. I was inspired after a girls night last Sunday (before husbands and babies, a group of my friends and I held a regular girls night and we're trying to get it going again). A friend told me about one of her Thanksgiving traditions--a relative brings her greenery clippings so that she can make a holiday wreath. And it just so happens that Charlie trimmed several holly bushes over the weekend--so I whipped up a wreath while the boys played outdoors. It was so simple and took less than 30 minutes! I think we'll adopt this tradition, too--thanks Katie!
Here's how I did it:
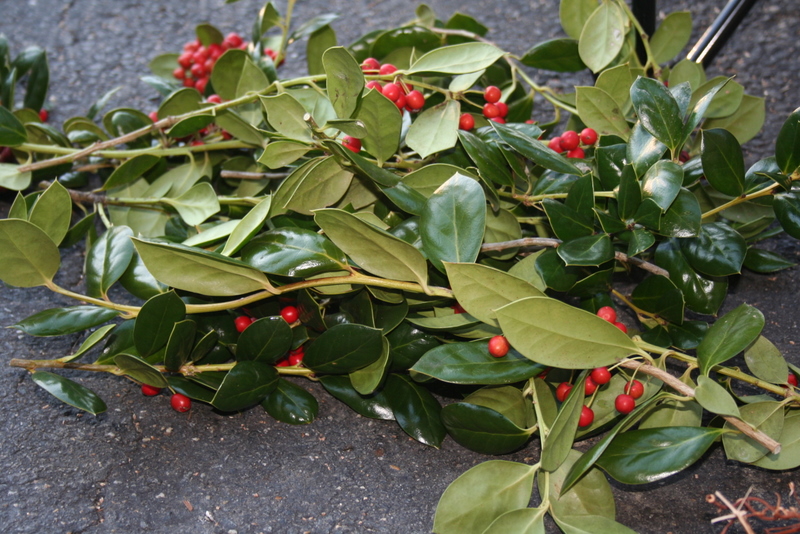
1. Gather clippings and trim down to 4-6 inch sections.
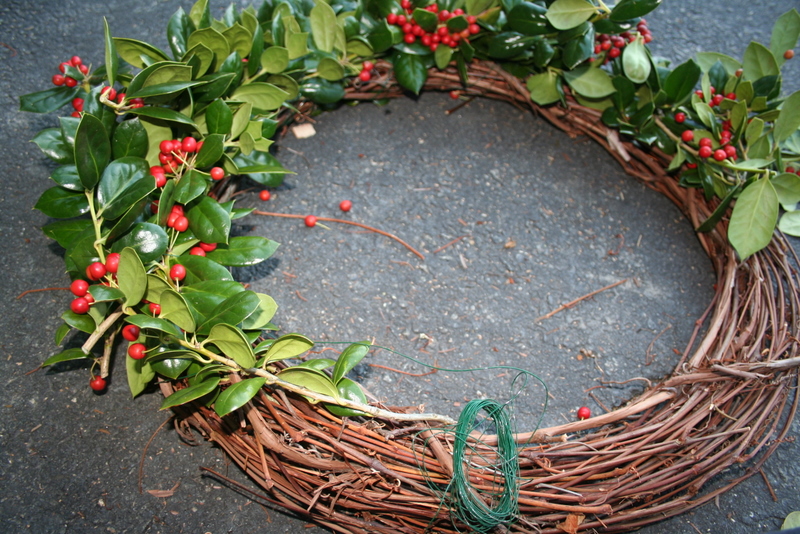
2. Gather wire and wreath form. I used a grapevine wreath I had on hand. Lay clippings on form and wrap with wire. If you are using a grapevine wreath you can poke your clippings into the wreath to help you with placement. Then, working downwards, overlap wire with new clippings and wrap with wire again. Continue until your form is covered. Secure wire.
3. Hang on door (you'll want to mist with water occasionally to keep it fresh). Make boys come over and give plenty of oohs and ahhs, even though all they really want to do is ride their bikes.

For more DIY ideas, have a girls night and get ideas from your crafty friends! Also be sure to check out Kimba's DIY post on A Soft Place to Land today.

 6 Comments
Reader Comments (6)
It looks beautiful! thanks for sharing.
oh my gosh, it looks great! hmmm I have s couple of unruly holly bushes that could use trimming! hmmmm
thanks for the inspiration!
gail
beautiful, very inspiring, thanks for sharing
What a beautiful wreath!
that's so pretty! I wish I had time to do that...
following you back form MBC - thanks!
That is so beautiful!
I found you on MBC and am now following you!
Heather
http://ratherbechangingdiapers.blogspot.com/