Shop Duck Duck Wool

Where was that?
Updates

Enter your email address:

Delivered by FeedBurner

Look around
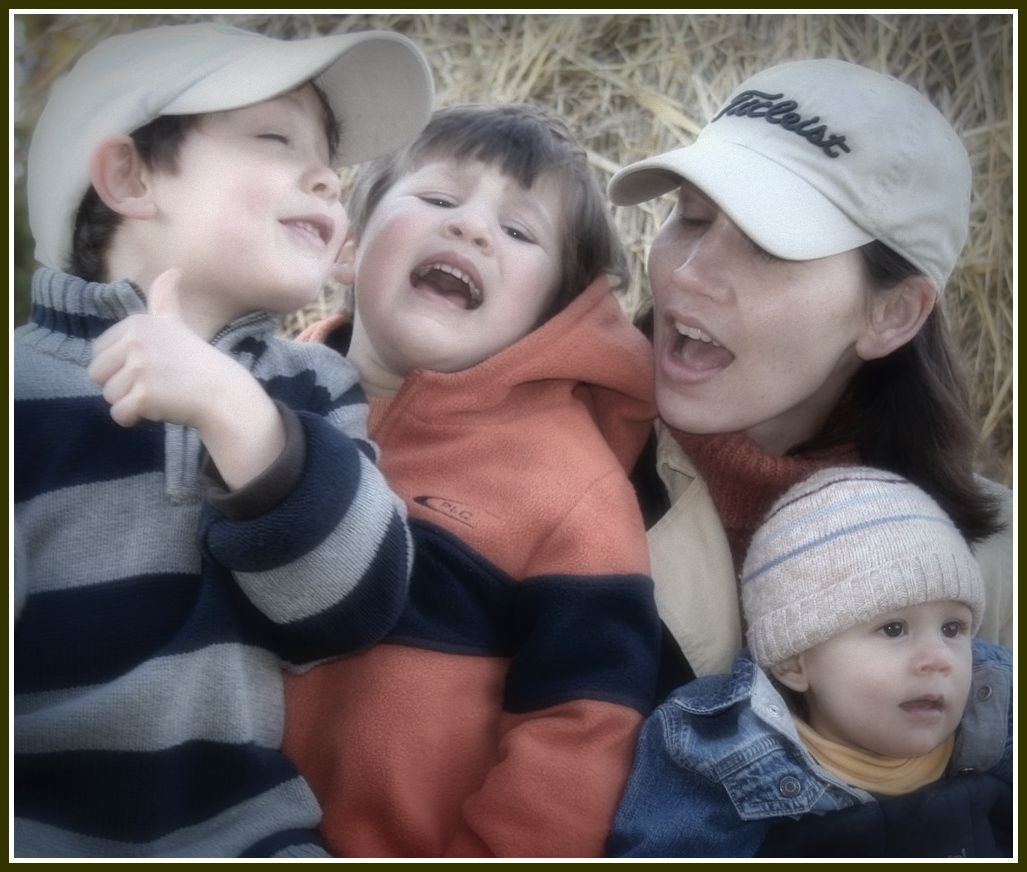
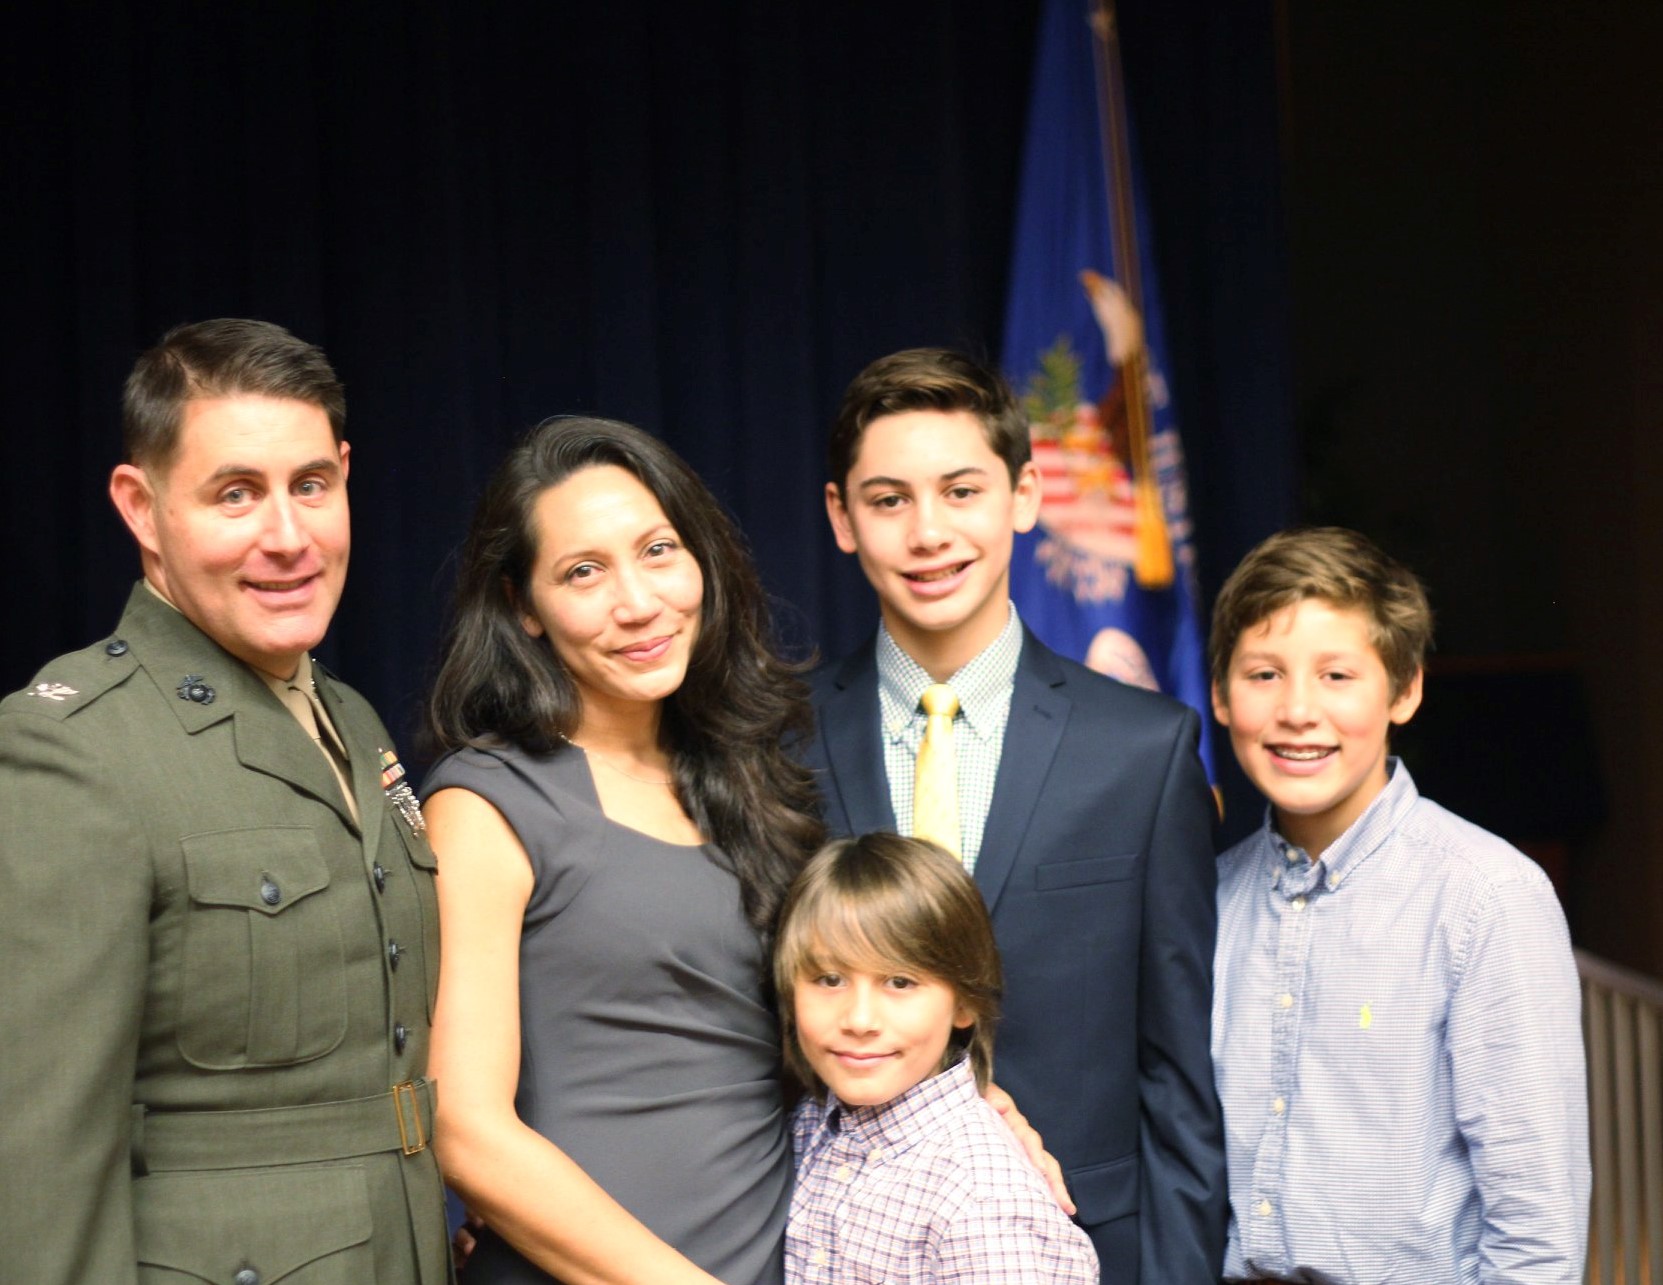
Pumpkins One, Two, and Three (and Me)

when I started the blog...

and a few years in...

and now...

3pumpkinslittle on Instagram 


Entries in kids (69)

Tuesday
Feb162010

Lil Blue Boo & Dharma Trading Co. design challenge, part 2.

I know the challenge is officially over, but I couldn't resist trying to get a few pictures of the hoodie in daylight.  And I was wrong when I said no one here could squeeze into the size I made--William could.  Technically.  But he wasn't happy about it.

One of the things I love most about Ashley's hoodie pattern is the use of contrasting pieces--it really ups the look but isn't hard at all.  And it is so versatile.  Plus, she gives you lots of hints on pattern placement to optimize reusing existing hems on the t-shirts you're upcyling.  This saves tons of time.


As I mentioned, I added a lining to the hoodie, using a star print I made with freezer paper stencils.  This technique is so addictive.  I did a lot (and I mean A LOT) of freezer stencil projects last year, but then put it away for a bit as I moved onto other things.  Doing it again really reminded me how great it is--I think that's exactly why I chose to try the challenge, to get the creative juices going.  Check out Ashley's tutorial on the process if you've never done it.

There are several ways you can line a hood.  But instead of hiding all the seams, I chose to showcase them in the lining.  Again, because I love the contrast as a design element.

The hood itself fits really well on the nognog.  When I cut it out, I thought I must have cut on the wrong line because it looked huge.  But take it from me, trust the pattern.

I will be sorting through the closets for more knits to upcycle.  Sir William wants one that fits.  Here he is  rushing the camera while trying to take off the hoodie by yanking straight up on the hood (reinforce those seams!).  It's his classic "we're done here" move.

I cannot wait to check out some of the entries.  And I'm the lookout for more challenges like this--not because I think I have a shot at the competition, please--it just really worked to motivate me.  And it's also nice to be a part of it.  Like a modern day sewing circle.

 ETA:  If you'd like to print out your own baby to-do list, I just added a pdf you can download on the original post.
Monday
Feb152010

Lil Blue Boo & Dharma Trading Co. design challenge.

I'm sure many of you fellow crafters out there follow Lil Blue Boo--I sure do.  And I was very excited when Ashley announced her Dharma Trading design challenge.  Of course she gave us tons of time to try to put something together, so did I use that time wisely?  Of course not.  Go ahead and review the "if you wait until the last minute it only takes a minute post".  But in my defense, it's been hard to get anything done these days as the three munchkins have been out of school/preschool for over a week (but I'm not going to talk about the snow any more.  I just Can't). 

Nevertheless, because I already had the hoodie pattern (and had an idea for a fun applique), I thought I'd make something today.  Yes, today...the last day of the challenge.  So during Will's nap, and after bedtime, I whipped up a little 6m-12m hoodie.  I LOVE this pattern!  It is so great to work with.  And--obviously--it takes no time at all.

I was able to take one of Charlie's old tees...

and one of my ill-fitting plain white tees, embellished with freezer stenciled stars (to make a lining for the hood, which is something I added in)...

and a baby's 'to do' patch I printed onto cotton, then appliqued on...

to create this fun hoodie.

I really wish I had better pictures.  You can hardly see the red top-stitching or star lining in the hood, but trust me it's all there and I think it's darling.  If I had planned ahead, I could have found a suitable model as no one here can squeeze into this size.  But I wanted to do the 6m-12m sizing this go because of the applique.  In case you cannot read it, here's the image I made up in my photo editing software then printed onto cotton (a thrifted blue sheet). 

(ETA:  Here is a pdf you can download if you'd like to applique your own baby to-do list.  If you're more comfortable working in word, try right clicking the above image, save it to your computer, open a word document, and click 'insert picture'--you should be able to resize the image by dragging a corner of the image.  Let me know if you need help.)

I plan to give this hoodie to a friend who just had her second baby.  I'll tuck in a laundry marker so she can just jot down the date of some milestones as the hoodie gets worn by her newest munchkin...it makes me smile.  Plus, I really could have used something like this for babies no. 2 and 3--poor things, I was very bad in recording important dates by then.  And I have a thing for lists so it's right up my alley.

There will be lots more hoodies in this house for sure--ones that fit my kidlets.  I cannot endorse this pattern enough.  Again, I just adore it.

ETA:  p.s. check out this post if you're looking for more pictures and/or info on how I liked the pattern.

if you're looking for more pictures and/or info on how I liked the pattern.

Saturday
Feb132010

Valentine's Day 2010.

Happy Valentine's Day!  We happily jumped on the blogland bandwagon for our Valentine's Day card design this year.  Once I saw the idea on 24-7-365, I knew we'd have to try it.  To put our spin on it, I used photo editing software to antique the picture, then traced the images using the same software--so I could "erase" the real background of the photo--allowing me to place the images in front of colorful backgrounds I designed.  I could not get a decent shot of Will to make the card work (he kept trying to grab the camera), so we'll save his for next year.  


I hope you have a great day wth your sweet ones.


Thursday
Feb112010

Fabric flower embellishment tutorial.

One of my favorite presents to give to little girls--whether they're celebrating a birthday or their new big sister status--are fun hair clippies.  I use bits of felt, ribbon, buttons or brads to make up a flower of sorts.  Sometimes I use my embroidery machine to monogram a bloom.  I then affix the embellishment to a ribbon covered alligator clip.  Easy peasy...


I also like to use little cards filled with them as gift toppers.  Once I clipped a good dozen or so around the ribbon I used to decorate a diaper cake for a neighborhood baby shower.  And my dear friends are kind enough to let me foist these confections upon their daughters--it satisfies my need to create something frilly.

So imagine how my ears perked up when my best friend from high school, Kristin, informed me that her sweet daughter could no longer wear the clippies I've made her (cllippies aren't working with her current hairstyle)--ack!  But evidently she sometimes wears headbands.  That's all I needed to hear...

Here's how I did it.

Cut a piece of scrap fabric.  Mine was about 1 1/2 inches wide x 14 inches long and I chose to pink one edge.

Next, ruffle your strip by sewing a straight line near the non-pinked edge.  Set your stitch length to the longest setting and make sure to leave a long tail at the start and end of your stitching.  Also, do not backstitch as you'll need to gently pull one thread to gather the fabric, thus creating the ruffle.  Go slowly as you don't want to break the thread. 

ETA:  You're supposed to do two rows in case the thread breaks but I don't bother with these scraps (again, because I'm a lazy bones--see below).  Also, I received a couple of emails asking why I don't use my machine to ruffle (to do that, you set your stitch length to the longest setting and your tension to the highest setting).  I answered that I usually do that if I'm sewing big pieces (and always if I'm working with knit fabric).  But I'm always interrupted while crafting and have found I also always forget to set my tension back--so I just don't bother with these quickie projects.  But you guys should go for it if it helps you ruffle! 

Make another coordinating scrappy strip--on this one, instead of pinking, I pulled a few threads out to gently fray the edge.  Note**next time I do this, I won't be such a lazy bones and not switch out my mismatched bobbin thread.  I found out later it's a bother to hide.


Stack the strips with right sides facing down--they'll be curly and unwieldy which is why I don't have a shot of it, sorry--and wind them around a finger.  Slide it off and adjust the bloom to your liking.

Take a threaded needle and secure your bloom by sewing this way and that, hiding your stitches amongst the ruffles.  I wanted another pop of color so I glued a fun blue brad to the center, but I don't think it's vital.

I then added some scrappy green leaves with pinked edges.  I slightly pinched the leaves on the end I was attaching to the flower, to make them stand up a bit, and securely hand stitched them to the back.


I hand stitched the entire embellishment onto a handmade headband (the headband is just a strip of white t-shirt jersey folded in half, sewn along the long edge, flipped right-side out, and sewn end to end to make a loop).  I tested for fit on the closest kid-sized head.  I won't name names because that was part of the deal.  That, and a slice of freshly baked cranberry-white-chocolate blondie.

I think it could also make a pretty broach.  And even though I've never been too much of a broach-wearing sort of person, I do think it would look pretty on a couple spring-weight jackets I recently bought.  So I think more are in my future.  And can you tell by the colors who's thinking spring?


ETA:  I'm linking up to DIY day at A Soft Place to Land.

Saturday
Feb062010

DIY gummy candy.

We are at 18 inches of snow and counting and the older boys are clamoring to get out there.  But it's snowing very hard right now and I'm trying to convince them to wait a bit.  They always forget how uncomfortable they become when the snow is actively falling on them, no matter how fun the play.  I figure I've got roughly one hour or so before they tie me up and do whatever they want.  Until then, I tried to get them into the kitchen for a bit to try out a project I've had my eye on--DIY gummy candy.

DIY Gummy Candy

idea and recipe from Not So Idle Hands

Ingredients

  • 2 three oz. packages of flavored Jello
  • 6 envelopes of unflavored gelatin, like Knox
  • 2/3 cup of cold water + half of a 1/3 c. 
  • glass measuring cup, preferably with a spout
  • double-boiler or small pot with several inches of water
  • some type of candy mold, *recommend smaller shapes if possible--we used medium sized heart molds and found it was almost too much gummy for little ones to handle.  (Because they have to bite it--can't just pop it entirely into their mouths.  This means, of course, that little hands will set them down or press them upon, say, their fuzzy pajamas.  And because the gummies are tacky, they pick up everything...and watching a toddler down a gummy that's magically grown fur is gross.)

Directions

  • Measure the water into the glass measuring cup.  Slowly stir in the gelatin and Jello, adding a bit at  a time and stirring after each addition.  Cover and let sit for 10 minutes.  Place pot of water to boil, then reduce heat to simmer.
  • After 10 minutes, the mixture should look thick.  Place the glass measuring cup into your pot of water and gently stir until mixture melts.  Be careful not to burn the mixture but allow it to fully melt (all of the granules should dissolve).  This took me five or so minutes.
  • After mixture is fully liquified, pour into molds--be careful because glass measuring cup will be hot. 
  • Place molds into the refridgerator or freezer for 5-10 minutes for the gummies to set up.
  • Once set, the kidlets should be able to pull them right out of the molds--they're impressively resilient.


The boys loved them.  I do too because they are not overly sweet and are a great option for holiday themed goodies (mini green shamrock gummies!  mini Easter bunnies!)...must keep a lookout for teensy molds.  And I might make something custom for the boys' joint birthday party if they could ever settle on a theme.

 Enjoy!

Tuesday
Jan262010

Coffee filter flowers.

I was cleaning out the cupboard and came across some coffee filters.  We don't really need coffee filters these days, not since the Keurig came into our lives (love that machine). 

I've seen all sorts of paper flowers made out of coffee filters on various crafty blogs.  But lots of them required cutting petals and wiring and some other stuff I wasn't in the mood to bother with.  So instead, I just started smooshing. 

Guess what?  It totally works well enough for my purposes (in that it sort of looks like a flower).  So much so that the next thing I know, the older boys are clamoring to make a couple.  Love that.  And to Charlie who is checking in from work to see what his boys are up to--because his trial is still going and he hasn't seen them in days--yes honey, they are making paper flowers.  You should come home now before we move on to making lip gloss.

The how-to, though it's pretty self explanatory:

Find a stack of filters--I used about five for each bloom.

 Cut off the bottoms...

 Smoosh, smoosh, smoosh...

Place filters inside one another, continuing to smoosh and adjust, until you like how your flower looks.  Continue to say smoosh because you like how that word sounds...

I twisted the bottoms and used some floral tape I have on hand.  But a twist tie or regular tape would work just as well. 

We decided to paint ours with water colors--again, because it's what we had out and we're all about spontaneous crafting around here.  We found that the colors go on pretty stark, so after we painted the flowers, I completely drenched them under the faucet, then gently squeezed out the excess water and laid them out to dry.  Getting them wet really made the water colors blend nicely.  Next time, however, I think I'll let the boys paint the filters while they are flat and then build the flowers with the colored paper--we may like those results more.

After the flowers dried and we fluffed up the petals a bit, the boys were very happy with their creations, as was I considering the ease of the process.  These will top some packages we're sending out.  I think we'll add some felt leaves and they'll be good to go.

Leo's...

Max's...

and mine...

I have a few foam wreath forms and think they would look lovely with mounds of these affixed.  Hmm, I guess we need more coffee filters after all.


Thursday
Jan072010

Bucilla.

Right about now, during the clean up from massive merriment, I'm pretty much ready to put away the Christmas things until next year.  But there is one item that I usually keep out and move to my sewing room--Max's stocking. 

It is made from a Bucilla kit and it took me quite a bit of time to finish.  I absolutely adore it.  Once I finally hung it on the mantle, Charlie asked, "are you actually going to let Max touch it?"  Hmmmph.  Charlie had sat on the couch next to me for countless nights as I toiled away during TV time, so I guess it's not a silly question.  But of course Max is allowed to touch it.  Carefully.  And of course he'll eventually get it.  When he's married and has a wife who will take care of it. 

I don't put the stocking away for a few reasons.  One, it extends the season a bit, not too much, but just enough.  Also, I want to back it with something more substantial than the flimsy felt that came with the kit.  There is a better chance of this happening if it's out and about (though this strategy has yet to actually work).  And last, hopefully seeing it will motivate me to get going on Leo's stocking.  He has patiently waited and pretended to like his Target stocking just as much as Max's "fancy" stocking for the last two years.  It's pretty pitiful, actually, and he really deserves his own.  And of course there's also Will's.  And maybe, maybe, one for Charlie and myself.  But frankly ours are holding strong in the eventually column.

Have you ever seen a Bucilla kit?  My best friend from childhood got me hooked as she had one growing up, made by a crafty aunt.  And even then, when most high-school girls aren't too impressed by such things, I coveted it very much.  In case you're inclined to give it a go, here is a shot of Leo's kit.  It can be pretty daunting when you get this pile of...stuff...unless you know what you're getting into--and I remember searching the web for info about it with no luck a couple of years ago.

I also remember dumping out Max's kit and muttering something not too very Christmas-y.  *I know I mentioned I cursed during my recent Christmas quilt-a-thon, too, so I feel the need to point out that I actually hardly ever curse (married a Marine--he does it for me), but there are exceptions. 

The stockings I picked were designed for Bucilla by Mary Engelbreit, which surprised me.  Because although I do think her stuff is darling, it's usually not quite my style.  I'm fickle in that I like country stuff but only in certain ways and in little doses.  And it's really more cottage style that I like, think weathered wood, rustic...simple.  My mother sometimes tries to pick up things for me thinking I'll like it because it's "country" but I tell her, "no, that's country chicken and I don't like country chicken."  Unfortunately no one really understands what I'm trying to distinguish between so I sometimes end up with gifts with miniature feed sacks in them. 

Okay, back to little Ms. Mary.  Even though I typically don't go for her stuff, I absolutely flipped over the folksy feel of this kit.  With most Bucilla stockings, you do a lot of detail with sequins and beads.  But with the Engelbreit-designed kits, it's all in the stitching.  For instance, the very first bit of embellishment I did was on Santa's boot--two colors of thread twisted to make a candy-cane effect for his laces.  And all of the trim on Santa's coat was embroidered...in fact, just about everything is embroidered versus beaded.  Here is a close up of Santa's coat and boots...

and the snow-child's cap...

Oh, and let's not forget the cute dimensional work from the design--the snow-child in Santa's arms is a little stuffie you make then tuck into his arms...

Here is what Leo's stocking will (eventually) look like.  It's another Mary Engelbreit design--wish me luck!


Tuesday
Jan052010

2009 Christmas card.

One of my New Year's resolutions is to be a bit more consistent with my blogging.  And to stay focused on one of the main reasons I began this blog--to try to document this special time in my life where I get to stay home to raise my family and be a full-time homemaker the way I want to do it...the way it feels right for me to do it.  And by that I mean having at least a little time here and there to do more of what I truly love for, and often with, my family, like cook, sew, and craft.  I know that when I had to balance those interests with working outside the home on top of family duties, I didn't get to do them nearly as much.   

The end of my two-year sabbatical from my job is quickly approaching, so there are some decisions we need to make.  But I'm not quite ready to face them yet.  So what better way to make time stand still a bit longer than to look at all the lovely Christmas and holiday cards we received this year.  I've spent the better part of the morning cleaning the house and putting away holiday decorations.  But I paused for a bit as I took down the cards.

I love holiday cards--especially ones with photos.  We display them through out the season and then I move them to fabric memo boards that Charlie made for me in the basement, where we can enjoy them for another year...little hands love to take down the cards to study faces, which may explain this less than tidy display. 

After that, they get placed, grouped by family, in a photo box for safe keeping.  I love to flip through them to see how everyone's children are growing up (too quickly if you ask me).

Here is our family card this year, done on Scrapblog.  Since I'm not the best about keeping up with my scrapbooking, as a compromise, I like to write a snippet in our cards of what the boys are up to.  I hope to present each of our children, someday in the far future, with a collection of Christmas cards that chronicles much of their childhood quirks.  I'll dig around for our cards from prior years and post those too--I try to do a different theme each year.  This year I came up with playing off an instruction manual of sorts...I'm starting to run out of ideas!  (click on the thumbnail to enlarge)...


I hope you're having a wonderful start to 2010--just three more weeks or so until I naturally write the correct year when I'm dating something! 


p.s. I do love how the holidays live on a bit in blogland with everyone's show and tell debrief, don't you?  And if you in fact don't, you might want to skip my next few posts as I'm sure that's what I'll be up to too :)...

Tuesday
Dec152009

Well hello there.

Hiya.  Blog much?  Didn't I mention I was going to take a wee break during the holiday crunch time?  Oh, right.  That's because it wasn't exactly planned.  Let's just say I'm tired of the rousing game of duck duck cold we've played these past couple of weeks.

Looking on the bright side, I sure am happy that the bitty bouts of sickness seemed to pop up between activities and special days.  Shockingly, everyone was in good health, and even better spirits, for our annual kid's "gingerbread" house decorating party.

I use graham crackers instead of baking gingerbread and sugar "glue" to pre-build the houses.  I learned last year that using royal icing for the mortar wasn't strong enough for excited little hands.  So this year I went with the heavy duty stuff--melted sugar.  I got the idea from the December '09 Better Homes and Garden magazine.  It really is stronger and, as an added bonus, it's a lot faster if you're building, oh, a gazillion.  You just melt some granulated sugar in a heavy bottomed pan (I use my enameled cast iron) then dip the edge of your graham cracker in it, then join with another cracker.  Be careful--this is definitely not a step for the munchkins.  For clean up, let your pot soak in hot water to dissolve the sugar.

Another important thing I should point out--unless you are very careful about how far you let the sugar carmelize (and you can see from the above photo that I was not), it won't taste good.  In fact, it tastes pretty awful because burnt sugar tastes pretty awful.  It's no problem for us because the houses are merely a prop for the pounds and pounds of candy they support.  And also, the kids don't eat the houses because these things sit around until after Christmas and get pretty stale.  I do, however, let my kids pick a candy or two off every now and then.  Okay, daily.

Here's a photo montage of the basic assembly process--I think it's pretty self explanatory.  Some tips:  when creating the gable, use a serated knife and gently saw back and forth.  Also, if crackers break (oh, and they will) set aside the pieces to doctor--just dip in the sugar & glue back together and lay aside until it sets up.  Don't stress about making these look perfect.  They're kind of cute crooked.  And kids love crooked. 

A few other things we like to do for the party:  cut down cardboard boxes (you know, all those you're getting daily from Amazon right now.  Right?  No?  Oh--it's just me?  Fine.) and cover with foil to make freebie cake boards for each party guest to tote home their masterpiece; ask guests to bring a bag of candy to share for decorating; make individual frosting piping bags by putting a big dollop of frosting into sturdy ziplocs and either tape or rubber band them right above the frosting to assist little hands with applying pressure while squeezing; and use colorful cereal to inexpensively round out the candy supply--especially great for walkways and "stone" accents.

But most of all, have fun.  Even the youngest of ones will actually sit still and do this activity with some help--we were so amazed at little Will's efforts!  All the kids did great.  We had over 25 taking over the kitchen and the house decorating portion was certainly the quietest time of the entire party.  Here's to making memories...


p.s.  Get more DIY ideas here.

Tuesday
Nov172009

Turkey-hand hand towel.

One more Moore had these turkey tees on her blog and I just love them (just as I love everything she does).  We plan to do t-shirts later in the week as part of a play-date craft activity.  In the meantime, I thought I'd send some love in the form of an embellished tea towel to my wonderful mother-in-law.  We'll see them at Christmas, but we'll miss them over Thanksgiving.  Hands on a hand towel...granted, it's a bit on the nose but it makes me smile. 

Here's an easy tute:


Check out more ideas over at DIY day at A Soft Place to Land.

Cheers,


Page 1 ... 2 3 4 5 6 ... 7 Next 10 Entries »